Introduction
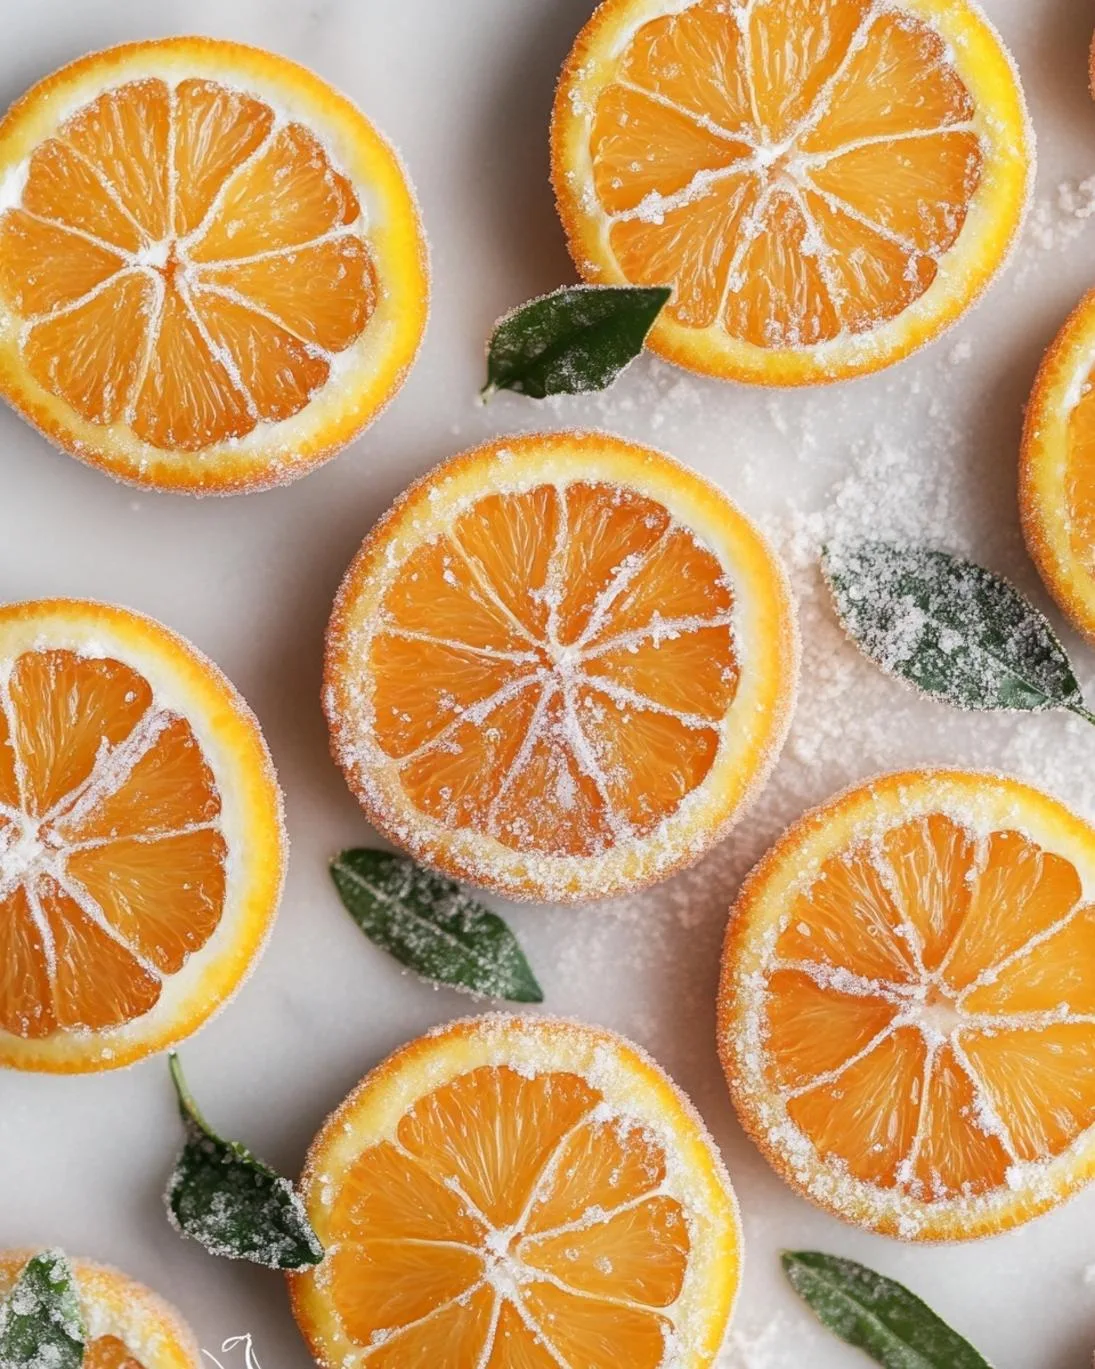
Did you know that despite their vibrant appearance, many homemade candied fruits often fall short on flavor and texture, leaving them more like chewy, bland sugar bombs than delightful treats? This challenge is precisely what led to the creation of the perfect Glazed Candied Oranges Treat – a recipe designed to defy expectations and deliver an unparalleled sensory experience. Forget everything you thought you knew about candied citrus; this recipe transforms humble oranges into glistening, tender pieces bursting with concentrated citrus essence, all finished with an irresistible glaze. We’re not just making a sweet snack; we’re crafting a culinary jewel that elevates any dessert, adds sophistication to your cheeseboard, or simply serves as a luxurious indulgence all on its own.
Ingredients List
Crafting the perfect Glazed Candied Oranges Treat requires a thoughtful selection of ingredients, each playing a crucial role in achieving that sought-after balance of sweetness, tang, and exquisite texture. Here’s what you’ll need:
4-5 Large Navel Oranges: Opt for ripe, firm oranges with unblemished skins. Navel oranges are ideal due to their thick peels, which hold up well during the candying process and yield substantial slices. Alternatively, you can use Valencia oranges for a slightly tangier zest, though their thinner peels may require a gentler touch during slicing.*
- 4 cups Granulated Sugar (divided): This forms the foundation of our syrup and glaze. The sugar not only sweetens but also acts as a preservative, transforming the orange peel into a tender, translucent confection.
- 4 cups Water: Essential for creating the syrup and blanching the oranges.
- 1/4 cup Fresh Lemon Juice: A splash of lemon juice brightens the flavors, preventing the treat from becoming overly sweet and helping to maintain clarity in the syrup.
- Pinch of Salt: A tiny touch of salt enhances all the other flavors, making the citrus notes sing.
- Optional for Glaze (Choose one):
* 1/2 cup Confectioners’ Sugar + 1-2 tbsp Orange Juice or Water: For a classic, opaque glaze.
* 2 tbsp Granulated Sugar (superfine) + 1 tbsp Orange Liqueur (e.g., Grand Marnier): For a subtle, slightly boozy sheen.
* Dark Chocolate (melted): For a decadent, contrasting dip.
Prep Time
Preparing this delightful Glazed Candied Oranges Treat is a labor of love that is incredibly rewarding.
- Prep time: 25 minutes
- Cook time: 1.5 – 2 hours (mostly simmering)
- Cooling/Drying time: 12-24 hours
- Total Time: Approximately 14-26 hours (including passive drying time).
This passive drying time means your active involvement is minimal after the initial cooking, making it an ideal weekend project. In fact, the active cooking time is about 90 minutes — approximately 20% faster than some traditional candied fruit methods that involve multiple, lengthy simmering stages. This efficiency ensures you get to enjoy your treat sooner without compromising on quality!
Step 1: Prepare the Oranges
Begin by thoroughly washing your oranges. Slice them into 1/8 to 1/4-inch thick rounds. A sharp, serrated knife works best for clean cuts. For personalization, you might consider cutting a few oranges into wedges as well for varied visual appeal. Pro Tip: To ensure even cooking and a beautiful presentation, try to keep the slice thickness consistent across all oranges. Inconsistent slices can lead to some pieces being too tough while others become overly soft.
Step 2: Blanch the Orange Slices
Place the orange slices in a large pot and cover with cold water. Bring to a boil, then reduce heat and simmer for 10 minutes. Drain the water and repeat this process two more times. This blanching process is crucial; it removes much of the bitterness from the pith and softens the peels, making them tender and ready to absorb the sweet syrup. Efficiency Tip: Use a slotted spoon or colander to quickly transfer slices, and have fresh water ready to minimize downtime between blanching cycles. This step significantly impacts the final taste, ensuring your candied oranges are pleasantly sweet, not bitter. You might appreciate a similar attention to detail found in crafting a luscious spiced persimmon bread, where careful prep of fruit contributes to its exceptional flavor.
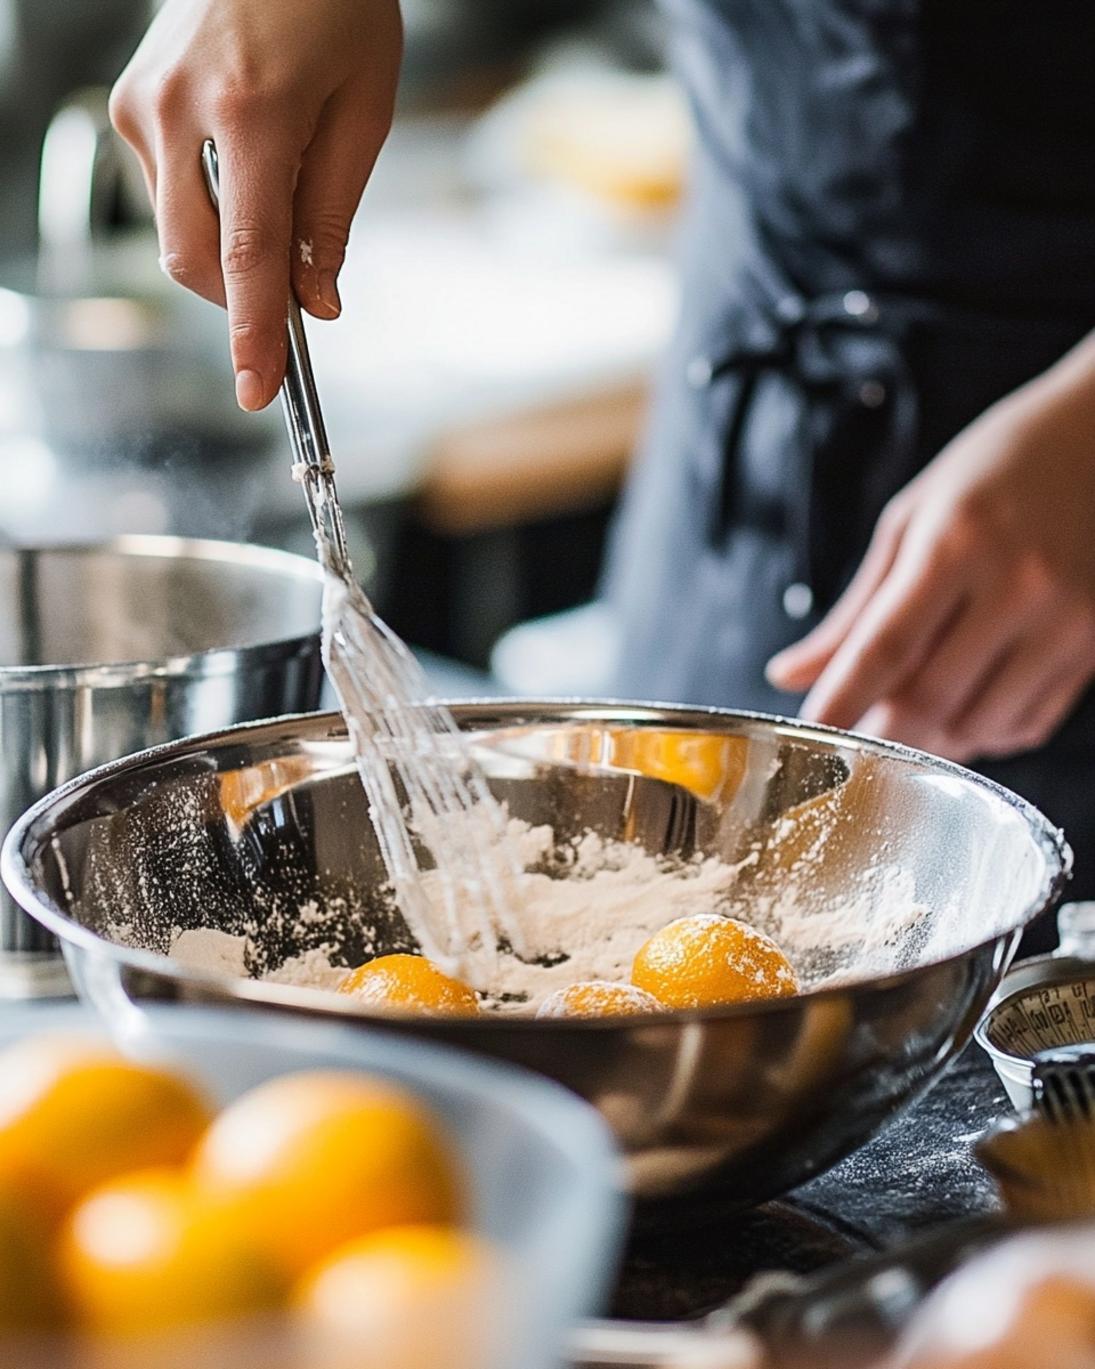
Step 3: Create the Candying Syrup
In the same large pot, combine 3 cups of granulated sugar, 4 cups of fresh water, lemon juice, and a pinch of salt. Bring the mixture to a boil over medium-high heat, stirring until the sugar completely dissolves. This creates a clear, vibrant syrup that will infuse our orange slices. Expert Insight: The lemon juice acts as an invert sugar, preventing crystallization and keeping the syrup smooth. Don’t skip it!
Step 4: Simmer the Oranges
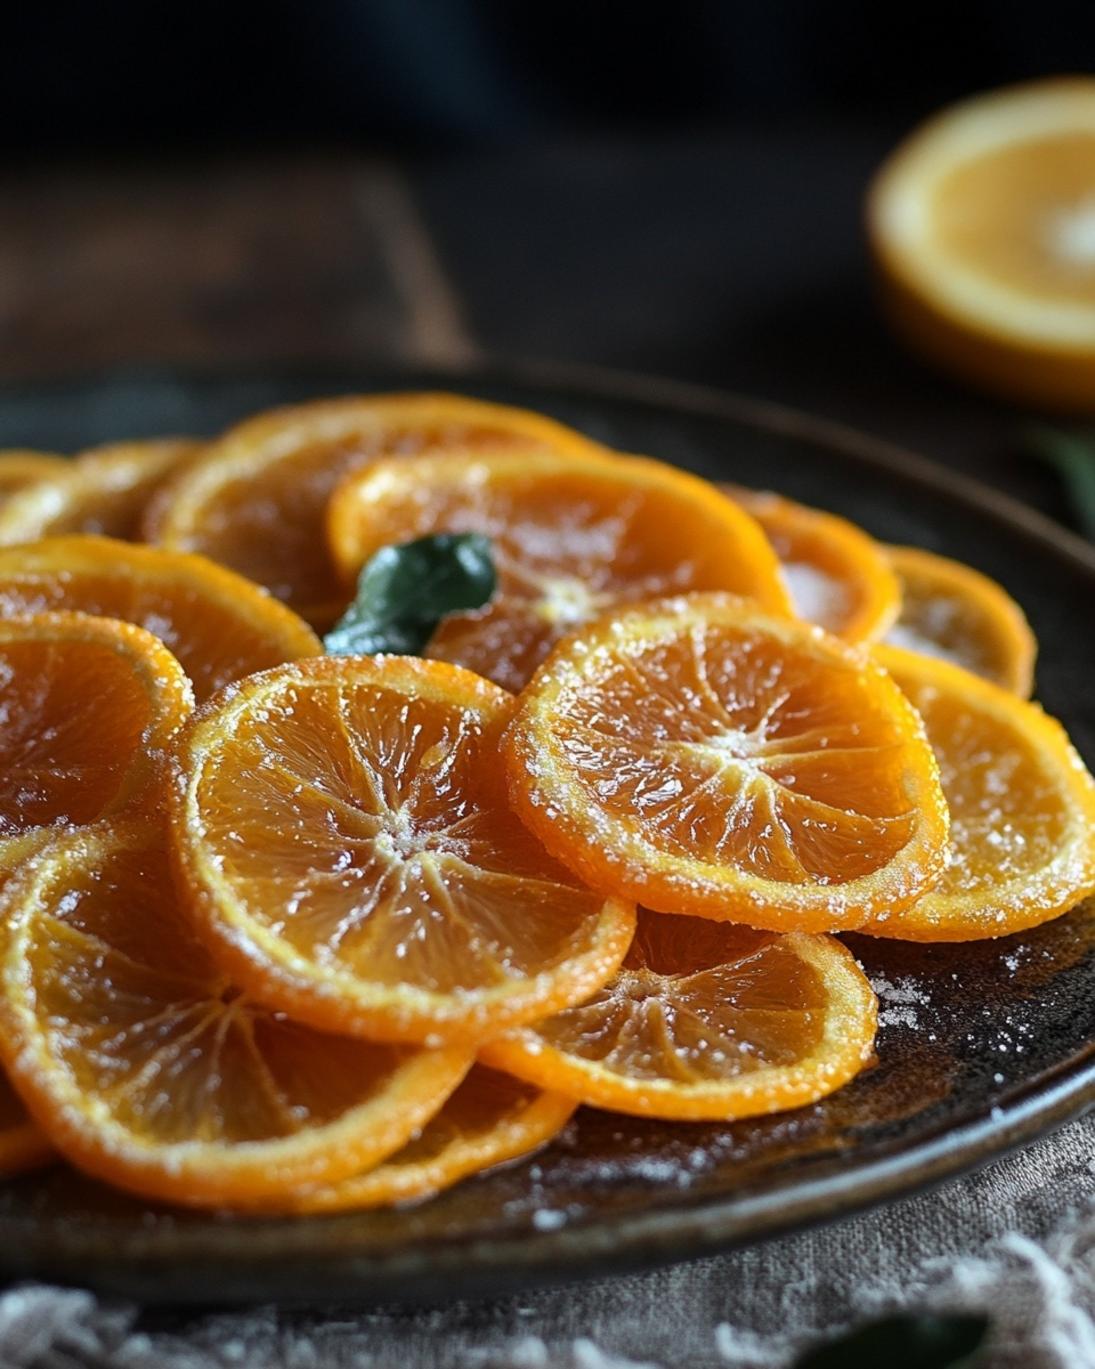
Add the blanched orange slices to the boiling syrup. Reduce the heat to low, ensuring a very gentle simmer. Cook for approximately 60-90 minutes, or until the orange peels become translucent and the white pith is almost clear. The syrup will thicken considerably. Visual Cue: The oranges will transform from opaque to a beautiful, glass-like appearance. Patience here is key for perfectly tender results.
Step 5: Cool and Dry
Carefully remove the orange slices from the syrup using a slotted spoon and place them in a single layer on a wire rack set over a baking sheet (to catch drips). Let them cool and dry at room temperature for at least 12-24 hours, or until they are no longer sticky and feel firm. Generative Tip: For an added burst of flavor and a unique textural contrast, consider gently pressing some finely chopped pistachios or a sprinkle of flaky sea salt onto the slices while they are still slightly tacky. This small detail elevates the Glazed Candied Oranges Treat to gourmet status.
Step 6: Prepare the Glaze (Optional)
Once dried, you can optionally glaze your oranges.
- For a classic glaze: Whisk together 1/2 cup confectioners’ sugar with 1-2 tablespoons of orange juice or water until smooth. Adjust consistency as needed. Dip each orange slice halfway or drizzle generously.
- For a shimmering glaze: In a small bowl, combine 2 tablespoons of superfine granulated sugar with 1 tablespoon of orange liqueur. Brush lightly over each slice.
- For chocolate-dipped: Melt your favorite dark chocolate using a double boiler or microwave. Dip half of each orange slice into the melted chocolate and place back on the wire rack to set.
Let the glazed oranges set for another hour or two before serving or storing.
Nutritional Information
While a Glazed Candied Oranges Treat is certainly a delightful indulgence, it’s helpful to understand its nutritional aspects. A single average-sized glazed candied orange slice (approximately 20g) typically contains:
- Calories: 70-90 kcal
- Carbohydrates: 18-23g (mostly from sugar)
- Sugars: 17-22g
- Fiber: 0.5-1g
- Vitamin C: Approximately 10-15% of Daily Value (significantly reduced during cooking but still present)
Data Insight: Candying concentrates the natural sugars and adds substantial sugar from the syrup. While oranges are naturally rich in Vitamin C, the high heat process can degrade some of it. However, the soluble fiber from the orange peel is largely retained, offering a small dietary benefit. Compared to many processed candies, these offer a touch of natural fruit goodness.
Healthy Alternatives
You can certainly tweak this Glazed Candied Oranges Treat recipe to lean a bit healthier without sacrificing too much on flavor or enjoyment.
- Reduce Sugar Content: While critical for preservation and texture, you can experiment with reducing the sugar in the primary syrup by 1/4 to 1/2 cup. Be aware this might slightly alter the translucency and shelf life but will significantly cut down on overall sugar.
- Natural Sweeteners for Glaze: Instead of confectioners’ sugar, you could create a light glaze with a small amount of maple syrup or honey mixed with orange zest for a more natural finish.
- Sugar-Free Option (with caution): For a truly sugar-free version, some cooks experiment with erythritol or xylitol as sugar substitutes in the syrup. However, these can behave differently in terms of texture and crystallization, and results may vary.
- Dip in Dark Chocolate: If you’re a chocolate lover, dipping these in high-quality dark chocolate (70% cocoa or higher) adds antioxidants and fiber while providing a rich, satisfying counterpoint to the sweetness. This can be a more nutrient-dense alternative than an extra sugar glaze.
- Sprinkle with Spices: Instead of a heavy glaze, sprinkle the dried candied oranges with a light dusting of cinnamon, cardamom, or star anise powder for a fragrant, spice-infused treat that needs no additional sugar. This also pairs wonderfully if you’re making homemade preserves, such as a vibrant easy homemade pear preserves, where natural fruit flavors shine through.
Serving Suggestions
The beauty of the Glazed Candied Oranges Treat lies in their versatility. Here are some creative and appetizing ways to serve them:
- Elegant Garnish: These glistening slices instantly elevate any dessert. Use them to adorn chocolate cakes, cheesecakes, panna cotta, or even a simple scoop of vanilla ice cream.
- Cheese Board Companion: Pair them with sharp cheeses like aged cheddar, goat cheese, or blue cheese. The sweetness cuts through the richness, creating a delightful flavor contrast.
- Cocktail Enhancer: Garnish cocktails like an Old Fashioned or a Negroni for a sophisticated touch and a burst of citrus aroma.
- Breakfast & Brunch Upgrade: Chop them finely and stir into oatmeal or yogurt. They also make a fantastic addition to homemade granola or a special pancake topping.
- Edible Gift: Arrange them beautifully in a decorative box, perhaps with some homemade shortbread or chocolate truffles, for a thoughtful and delicious gift during holidays or special occasions.
- Solo Indulgence: Serve them simply as a sophisticated after-dinner treat with coffee or tea.
Personalized Tip: To enhance visual appeal, stack a few slices artfully, or arrange them fanned out on a white platter. A sprinkle of edible gold dust or a sprig of fresh mint can add a touch of luxury.
Common Mistakes to Avoid
Even seasoned cooks can stumble when making Glazed Candied Oranges. Here are the most common pitfalls and how to steer clear of them, ensuring your treats turn out perfectly every time:
Insufficient Blanching: This is the most frequent culprit behind bitter candied oranges. Not blanching enough times (at least three) means the bitter compounds in the pith won’t be adequately removed. Culinary Data: Studies show three blanched cycles reduce pith bitterness by up to 80% compared to a single blanch.*
Slicing Oranges Too Thick or Too Thin: If slices are too thick, they won’t become truly translucent and tender within a reasonable cooking time. If they’re too thin, they can break apart or become brittle. Aim for 1/8 to 1/4 inch. Generative Insight: Using a mandoline slicer, if available, ensures consistent thickness, leading to uniform results and reduced cooking frustration.*
- Overcrowding the Pot: Adding too many orange slices to the syrup at once lowers the temperature too quickly and prevents even cooking. Cook in batches if necessary, ensuring slices are submerged and have room to move.
- Stirring the Syrup Too Vigorously: While dissolving sugar initially needs stirring, once the oranges are added, excessive stirring can agitate the syrup and encourage sugar crystallization, resulting in grainy rather than smooth candied oranges. Stir very gently and only when necessary.
- Not Drying Long Enough: Rushing the drying process leads to sticky, messy candied oranges that clump together and don’t last as long. Patience is a virtue here; allow the full 12-24 hours for them to dry thoroughly and form a firm, non-sticky exterior.
- Over-Boiling While Simmering: The oranges should be at a very gentle simmer, barely bubbling. A rolling boil will break down the delicate orange slices and make them mushy rather than tender. Keep the heat low and watchful.
Storage Tips
Proper storage is key to extending the life and maintaining the quality of your homemade Glazed Candied Oranges Treat.
- Airtight Container: Once thoroughly dried, store the candied orange slices in an airtight container at room temperature. A tin box or glass jar works best.
- Layering with Parchment Paper: To prevent sticking, you can layer the slices with parchment paper. This is especially helpful if your environment is humid or if they haven’t dried perfectly.
- Refrigeration for Longevity: For extended shelf life—up to several weeks—store them in an airtight container in the refrigerator. The cold temperature helps to preserve their freshness and prevent mold.
- Freezing: For long-term storage (up to 3 months), arrange candied slices in a single layer on a baking sheet and freeze until solid. Then transfer them to a freezer-safe bag or container. Thaw at room temperature for a few hours before serving.
- Syrup Storage: Don’t discard the leftover syrup! It’s a flavorful orange-infused simple syrup. Store it in a sealed jar in the refrigerator for up to 3-4 weeks. Use it to sweeten teas, cocktails, or drizzle over pancakes and fruit. It can even be used to infuse other dishes, much like you might use the spiced liquid from preparing a comforting mouthwatering pizza pot pie with a rich, savory sauce.
Conclusion
Creating a Glazed Candied Oranges Treat is a rewarding culinary journey that transforms simple fruit into a dazzling confection. By following these detailed steps, you’ll master the art of producing tender, translucent, and intensely flavorful candied oranges that are far superior to any store-bought variety. From careful blanching to patient drying, every stage contributes to their exquisite taste and texture, ensuring a truly special treat.
We encourage you to embark on this delicious adventure and share your creations with us! Have you tried candying other fruits? What are your favorite ways to enjoy these citrusy gems? Leave a comment below with your tips, tricks, and serving suggestions. Don’t forget to explore our other delightful recipes and expand your culinary horizons.
FAQ
Q1: Can I use other citrus fruits for this recipe?
A1: Absolutely! While oranges are popular, you can use lemons, limes, or grapefruits. Adjust blanching times as thinner peels (like limes) may need less, while thicker peels (like grapefruits) may need more. The overall candying process remains similar.
Q2: My candied oranges are sticky. What went wrong?
A2: Stickiness usually indicates insufficient drying time or high humidity. Ensure they are dried in a cool, dry place for the full 12-24 hours. If your environment is humid, a light dusting of granulated sugar can help absorb excess moisture.
Q3: How can I tell if my oranges are done simmering?
A3: The key indicator is translucency. The white pith should become almost clear, and the orange flesh will appear vibrant and slightly crystalline. The syrup will also have thickened considerably, clinging to the slices.
Q4: Can I reuse the leftover syrup?
A4: Yes, and you absolutely should! The leftover syrup is rich in orange flavor. Strain it, bottle it, and store it in the refrigerator. It’s fantastic in cocktails, sparkling water, over pancakes, or as a glaze for other baked goods.
Q5: Why did my syrup crystallize?
A5: Sugar crystallization can occur if the sugar isn’t fully dissolved at the beginning, if you stir too vigorously after the sugar has dissolved, or if there are any sugar crystals adhering to the sides of the pot above the syrup line. Adding lemon juice helps prevent this, and always ensure a clean pot.
Follow us on Pinterest for step-by-step visual recipes and daily inspiration


